Love fresh veggies? You’re in for a treat with this Lemon Garlic Green Beans recipe! It’s easy to make and packed with bold flavor. With just a handful of ingredients, you can whip up a dish that brightens any meal. Follow my simple steps to make these tender green beans shine with zesty lemon and garlic. Get ready to impress your taste buds and your guests! Let’s dive in!
Why I Love This Recipe
- Bright and Fresh Flavor: The combination of lemon and garlic adds a zesty kick that elevates the green beans to a whole new level of deliciousness.
- Quick and Easy: This recipe comes together in just 20 minutes, making it a perfect side dish for busy weeknights or last-minute gatherings.
- Nutritious and Colorful: Not only are green beans packed with vitamins and minerals, but the vibrant colors make this dish visually appealing as well.
- Customizable: You can easily adjust the spice level by adding or omitting red pepper flakes, making it suitable for all taste preferences.
Ingredients
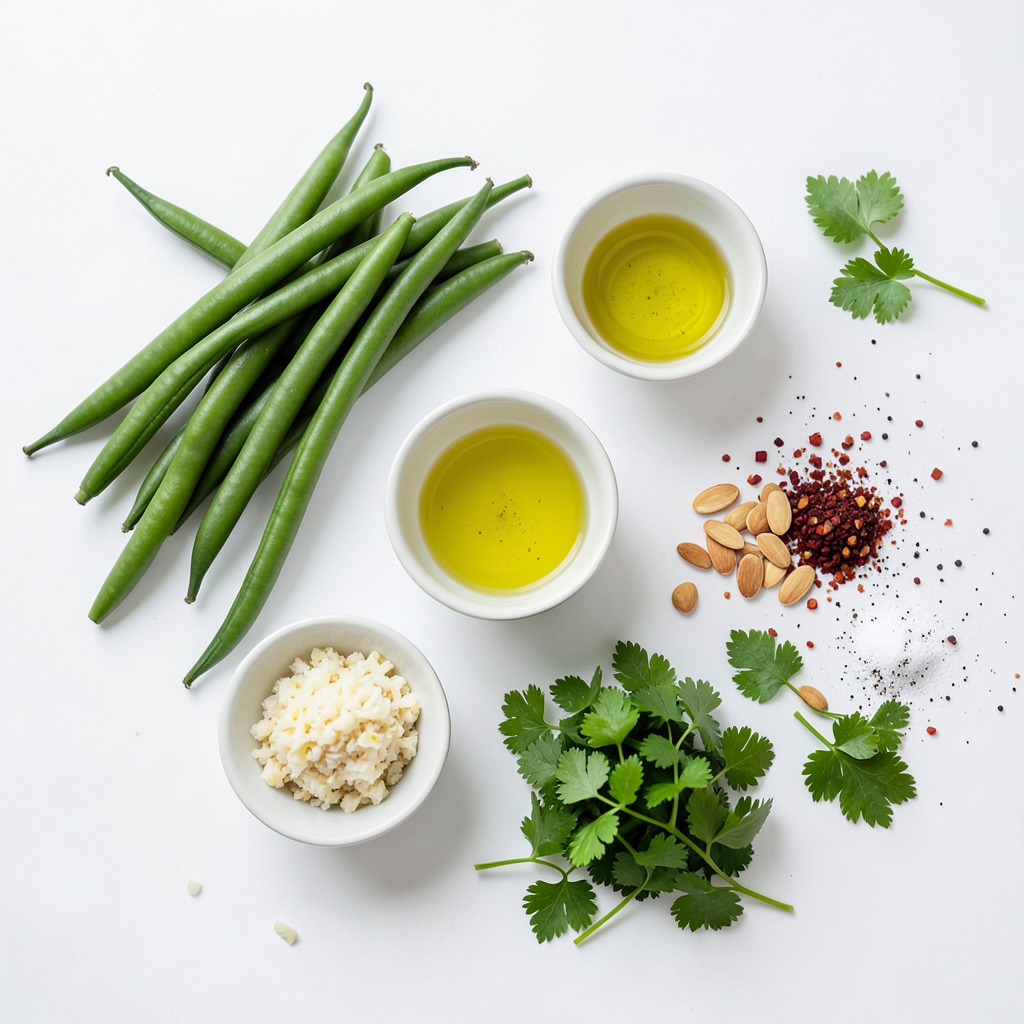
Detailed Ingredient List
- Fresh green beans: You need 1 pound of these. Trim the ends for a neat look.
- Garlic: Use 4 cloves, minced. Fresh garlic gives a great taste.
- Olive oil: You will need 2 tablespoons. This adds a rich flavor.
- Lemon zest and juice: Get the zest and juice from 1 lemon. This brings brightness.
- Red pepper flakes: Use 1 teaspoon if you like some heat. This is optional.
- Seasoning: Add salt and pepper to taste. This enhances all the flavors.
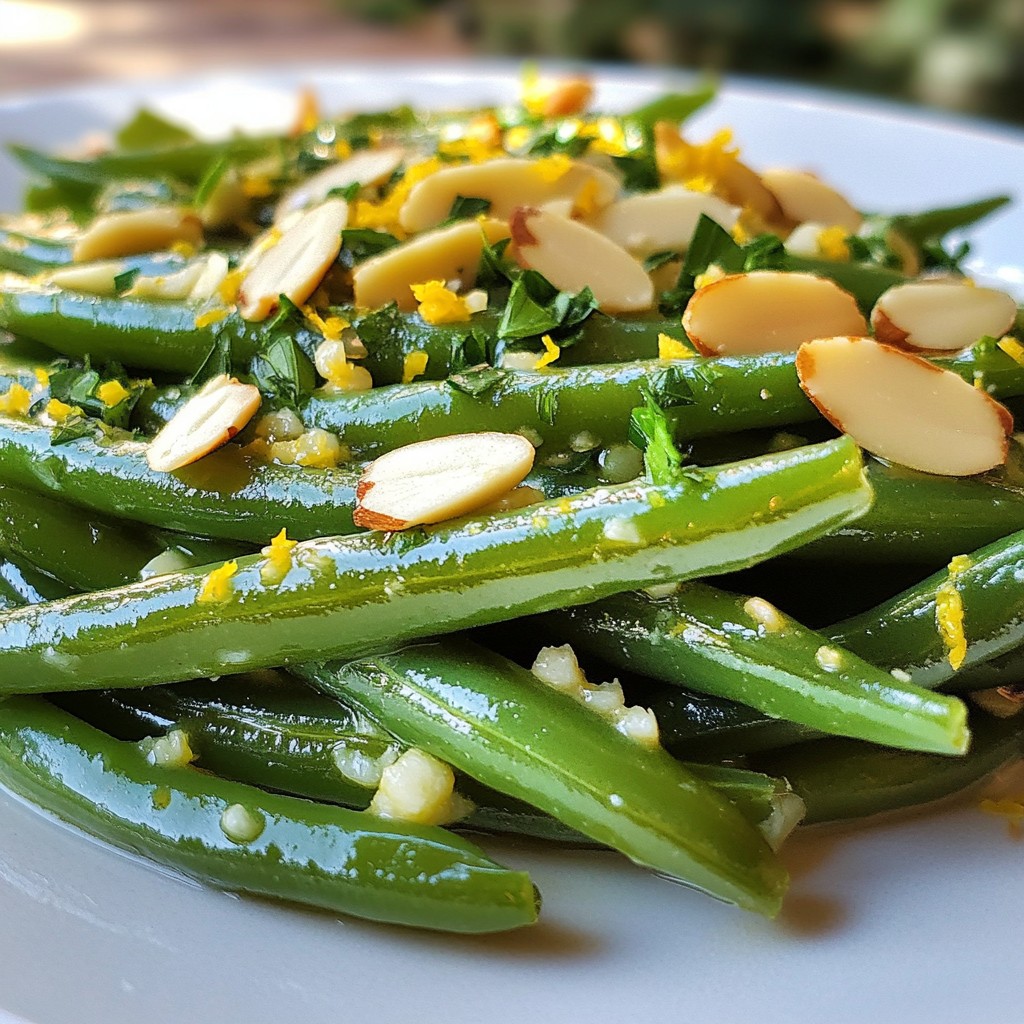
- Garnishes: Use 2 tablespoons of toasted slivered almonds and chopped fresh parsley. They add crunch and color.
Each ingredient plays a role in making the green beans shine. Fresh green beans are crisp and bright. Garlic gives a warm, savory taste. Olive oil ties everything together. Lemon adds zing, while red pepper flakes can give a spicy kick. Salt and pepper bring out the flavors. Finally, the garnishes add texture and a pop of color. Enjoy crafting this simple and flavorful dish!
Step-by-Step Instructions
Boil and Blanch the Green Beans
To start, bring a large pot of salted water to a boil. Add 1 pound of fresh green beans that you have trimmed. Blanch the green beans for 3 to 4 minutes. You want them bright green and tender-crisp. After that, drain the green beans. Quickly plunge them into a bowl of ice water. This helps keep their color and crunch.
Sauté Garlic in Olive Oil
Next, take a large skillet and heat 2 tablespoons of olive oil over medium heat. Once hot, add 4 minced cloves of garlic. Sauté the garlic for about 1 minute. You want it fragrant but not burnt. Keep an eye on it; burnt garlic can ruin your dish!
Mix and Coat the Green Beans
Now, drain the green beans from the ice water. Add them to the skillet with the garlic. Sprinkle in the zest and juice of 1 lemon. If you like a little heat, add 1 teaspoon of red pepper flakes. Toss the green beans well with the garlic and lemon mixture. Heat everything through for about 2 to 3 minutes. Season with salt and pepper to taste. Finally, transfer the green beans to a serving dish. Garnish with 2 tablespoons of toasted slivered almonds and some chopped fresh parsley. Enjoy your zesty lemon garlic green beans!
Tips & Tricks
Achieving the Perfect Blanch
To get bright green beans, start with salted boiling water. Blanch for just 3-4 minutes. This keeps them tender-crisp. Quickly transfer them to ice water. This step halts the cooking. It helps keep the green beans vibrant and crunchy.
Enhancing Flavor with Additional Ingredients
You can boost the taste of lemon garlic green beans with a few extras. Add a teaspoon of red pepper flakes for heat. It gives a nice kick to the dish. You can also mix in some herbs like thyme or basil. They add a fresh twist. If you love nuts, try walnuts or pecans instead of almonds. Their crunch pairs well with the beans.
Serving Suggestions
Serve lemon garlic green beans as a side dish. They go well with grilled chicken or fish. You can also serve them with rice or quinoa for a healthy meal. For a special touch, sprinkle extra lemon zest on top. Add more parsley for color. This dish looks great on any table and tastes even better!
Pro Tips
- Blanching is Key: Blanching the green beans before sautéing helps to preserve their vibrant color and crisp texture. Don't skip this step!
- Garlic Timing: To avoid burning, add the minced garlic to the oil only after it's heated. It should be fragrant but not browned for the best flavor.
- Lemon Zest Boost: Using both lemon zest and juice maximizes the citrus flavor in the dish. The zest adds an aromatic quality that freshens the green beans beautifully.
- Garnish for Texture: Toasted slivered almonds not only add a delightful crunch but also enhance the dish visually. Don't skip the garnish!
Variations
Alternate Ingredient Substitutions
You can change a few items in this recipe. If you want, swap fresh green beans for asparagus or snap peas. Both will give you a different taste and look. You can also use shallots instead of garlic for a sweeter flavor. If you don't have olive oil, try avocado oil. It works well and tastes great too.
Vegan and Gluten-Free Options
This recipe is already vegan and gluten-free. All the ingredients fit these diets. If you want to add more flavor, try using lemon-infused olive oil. It adds a nice touch without changing any other ingredients. Always check labels to ensure your ingredients stay gluten-free.
Adding Proteins or Other Veggies
You can easily add proteins to this dish. Grilled chicken or shrimp pairs well with the green beans. For a plant-based option, add chickpeas or tofu. They absorb the lemon and garlic flavors nicely. You can also mix in other veggies like bell peppers or carrots. Just sauté them with the garlic for a tasty twist.
Storage Info
Storing Leftovers
After you enjoy your lemon garlic green beans, store any leftovers in an airtight container. This helps keep them fresh. They can stay good in the fridge for about 3 to 5 days. Just make sure the beans cool down before you put them away. This way, they won't steam and lose their crispness.
Reheating Instructions
When you're ready to eat the leftovers, reheating is easy. You can use a skillet or microwave. If you choose a skillet, heat it on low. Add a splash of olive oil for flavor. Toss in the green beans and cook until warm. If using a microwave, place the beans in a safe dish, cover it, and heat for about 1 to 2 minutes. Stir halfway to ensure even heating.
Freezing for Later Use
If you want to save your green beans for later, freezing is a great option. First, make sure they are cooled. Then, place them in a freezer bag or container. Remove as much air as possible to prevent freezer burn. They can last up to 3 months in the freezer. When you’re ready to use them, thaw in the fridge overnight. Then, reheat them as mentioned above.
FAQs
How long do I blanch green beans?
You should blanch green beans for 3 to 4 minutes. This short time keeps them bright green and crunchy. Start by boiling salted water. Then, add the beans and set a timer. After blanching, quickly cool them in ice water. This stops the cooking process.
Can I make lemon garlic green beans ahead of time?
Yes, you can make lemon garlic green beans ahead of time. Cook them as directed, but don’t add the garnishes yet. Let them cool and store in an airtight container. They will stay fresh in the fridge for up to three days. When ready to serve, just reheat and add garnishes.
What can I serve with lemon garlic green beans?
Lemon garlic green beans pair well with many dishes. Try serving them with grilled chicken or fish for protein. They also go great with rice or quinoa for a filling meal. For a vegetarian option, serve them with a hearty salad or pasta. Their bright flavor complements many foods.
This blog post outlined a tasty way to prepare lemon garlic green beans. We discussed key ingredients like fresh beans, garlic, and olive oil. You learned the steps for blanching, sautéing, and mixing flavors together. I shared helpful tips for great taste and serving ideas. You can even try variations for different diets.
In closing, lemon garlic green beans are simple and tasty. They add a bright touch to any meal. Enjoy trying this dish and make it yours!