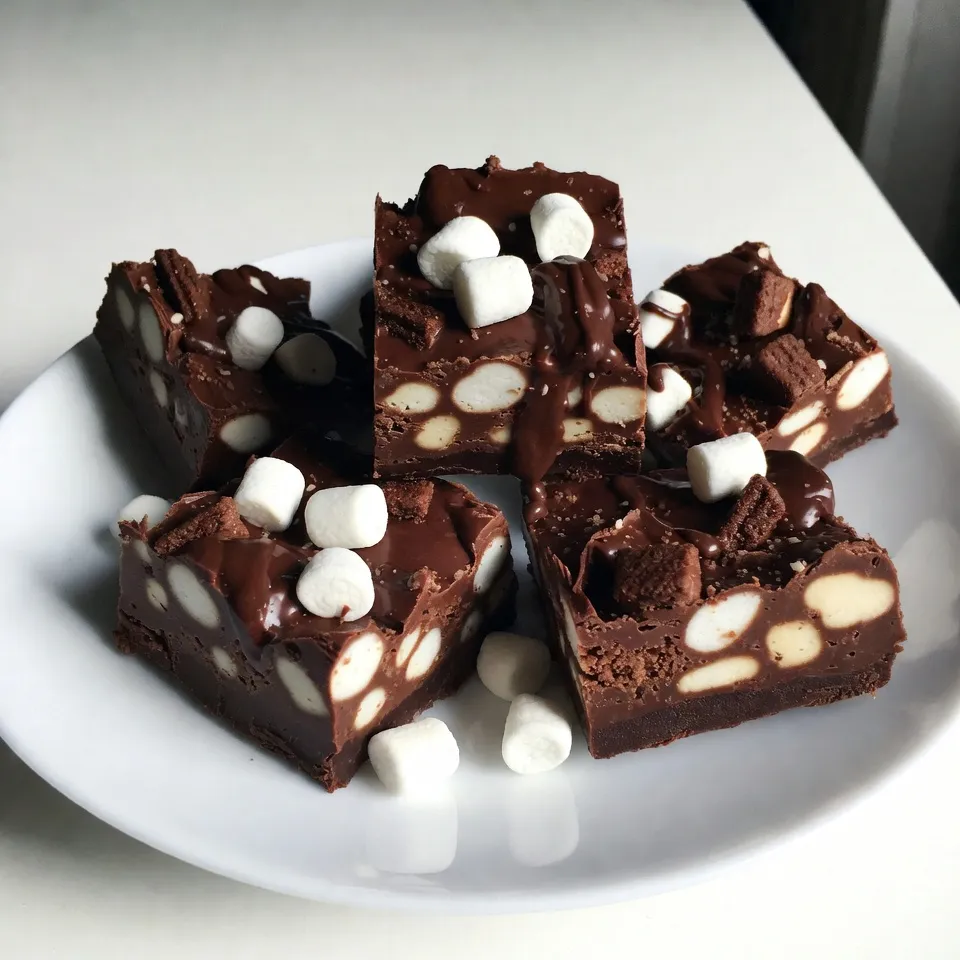
Get ready to indulge in a sweet treat that combines creamy chocolate, fluffy marshmallows, and crunchy nuts. In this post, I will guide you through making Chocolate Marshmallow Rocky Road Fudge Delight. Follow my simple steps to create this rich, tasty dessert that’s perfect for sharing. Whether it’s a party or a cozy night in, this fudge will wow your friends and family. Let’s dive into the delicious details!
Why I Love This Recipe
- Decadent Chocolate Flavor: This fudge is rich and indulgent, making it a perfect treat for chocolate lovers.
- Easy to Make: With just a few simple ingredients and minimal steps, this recipe is quick and hassle-free.
- Customizable: You can easily swap out nuts or add different mix-ins to suit your taste preferences.
- Perfect for Sharing: This recipe yields a generous amount, making it ideal for parties or gatherings.
Ingredients
List of Ingredients
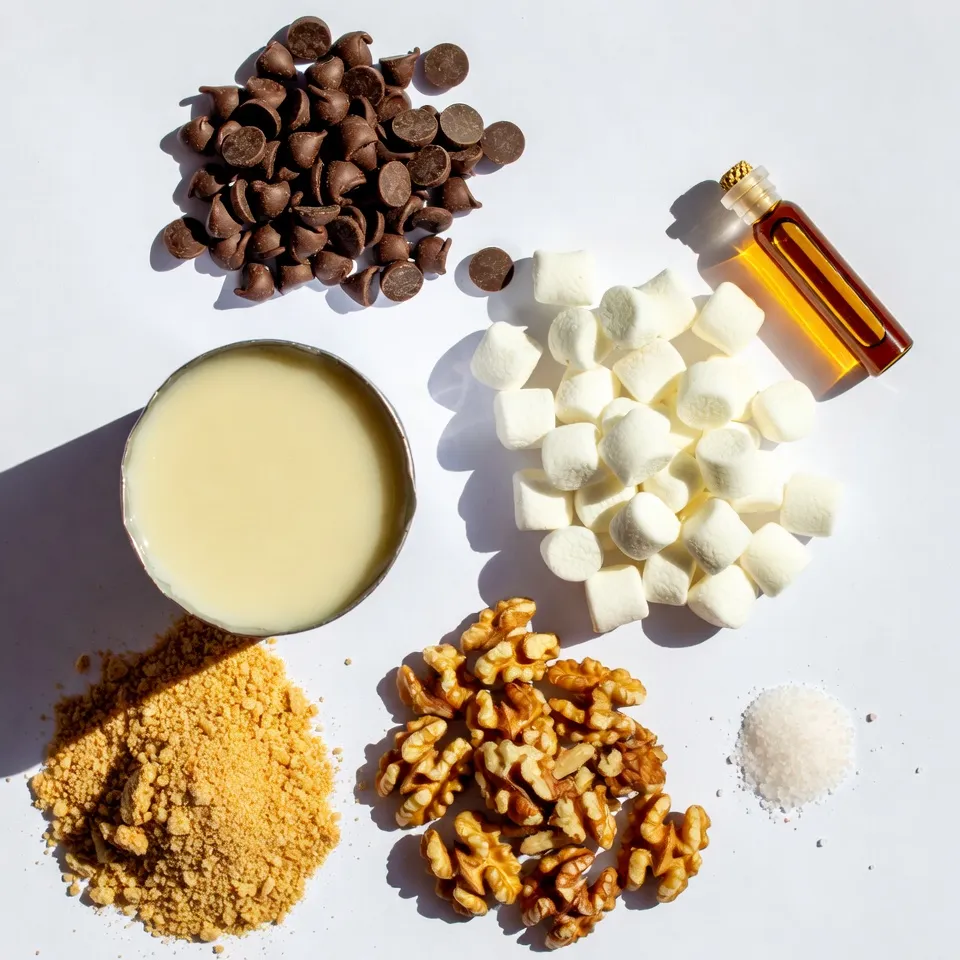
– 2 cups semi-sweet chocolate chips
– 1 cup sweetened condensed milk
– 1 cup mini marshmallows
– 1 cup graham cracker crumbs
– ½ cup chopped walnuts (or your favorite nuts)
– 1 teaspoon vanilla extract
– A pinch of salt
Gathering the right ingredients is key to making great Chocolate Marshmallow Rocky Road Fudge. Start with semi-sweet chocolate chips. They give the fudge a rich flavor. Next, sweetened condensed milk makes the fudge creamy and smooth.
Mini marshmallows add a fun, chewy texture. They melt just enough to blend in but still hold their shape. The graham cracker crumbs bring a crunchy, cookie-like taste. Don’t forget the chopped walnuts or your favorite nuts for an extra crunch.
A teaspoon of vanilla extract enhances the sweet flavors. Finally, a pinch of salt balances everything out. This mix of flavors and textures creates a delightful treat. Each bite is a sweet surprise!
Step-by-Step Instructions
Preparing the Baking Dish
– First, get an 8×8-inch square baking dish.
– Line it with parchment paper.
– Leave some paper hanging over the edges.
– This helps with easy removal later.
– Set the dish aside for now.
Melting the Chocolate
– Take a medium saucepan and place it on low heat.
– Add 2 cups of semi-sweet chocolate chips.
– Pour in 1 cup of sweetened condensed milk.
– Stir the mix constantly until smooth and creamy.
– Watch carefully to avoid burning the chocolate.
Adding Flavor and Mix-Ins
– Remove the saucepan from the heat.
– Stir in 1 teaspoon of vanilla extract.
– Add a pinch of salt for taste.
– Mix well until everything blends nicely.
– Gently fold in 1 cup of graham cracker crumbs.
– Add ½ cup of chopped walnuts and 1 cup of mini marshmallows.
– Make sure the mix-ins spread evenly throughout.
Transferring and Chilling
– Pour the fudge mixture into your prepared baking dish.
– Use a spatula to spread it evenly.
– Press down gently to compact the fudge.
– Refrigerate for at least 2 hours or until firm.
Tips & Tricks
Perfecting Your Fudge Texture
To make the best fudge, ensure the chocolate is fully melted before mixing. This helps create a smooth texture. When you pour the mixture into the baking dish, compact it well. Pressing down helps the fudge hold its shape when cut.
Presentation Tips
Make your fudge look great by drizzling some melted chocolate on top. This adds a nice shine and a rich flavor. You can also sprinkle extra mini marshmallows for decoration. They make the fudge more fun and inviting.
Common Mistakes to Avoid
One big mistake is skipping the refrigeration time. This step is crucial for the fudge to set correctly. Another mistake is overmixing after adding the marshmallows. Gentle folds help keep their shape and ensure a perfect texture.
Pro Tips
- Use Quality Chocolate: Opt for high-quality semi-sweet chocolate chips for the best flavor and texture in your fudge.
- Cool Gradually: Allow the fudge to cool at room temperature before refrigerating to avoid condensation, which can affect texture.
- Experiment with Mix-ins: Feel free to add other mix-ins like dried fruits or different nuts to customize the flavor.
- Storage Tips: Keep the fudge in an airtight container in the fridge for up to two weeks for optimal freshness.
Variations
Nut-Free Options
If you want a nut-free version of this fudge, you can easily swap the nuts. Use sunflower seeds instead, or just leave them out. This keeps the great taste while making it safe for those with nut allergies. Plus, the texture stays nice and crunchy with the seeds!
Flavor Variations
To make your fudge even more special, try adding mint extract. Just a few drops can give it a nice minty twist. If you love peanut butter, mix in some for added richness. This will create a creamy taste that pairs wonderfully with chocolate.
Dietary Alternatives
For a richer flavor, consider using dark chocolate. It adds a depth that many people love. If dairy is a concern, there are great dairy-free chocolate options. These swaps allow everyone to enjoy this tasty treat without missing out!
Storage Info
How to Store Fudge
To keep your fudge fresh, place it in an airtight container. Store it at room temperature to enjoy it soft and chewy. If you want it to last longer, store it in the fridge. This will help keep it fresh for up to two weeks. Just remember to let it warm up a bit before serving if you keep it cold.
Freezing Instructions
If you want to save some fudge for later, freezing works great. Wrap each piece in plastic wrap before placing them in a freezer bag. This keeps them safe from freezer burn. When you are ready to enjoy your frozen fudge, just take it out and let it thaw at room temperature. In a short time, it will be ready to eat!
FAQs
How long does Chocolate Marshmallow Rocky Road Fudge last?
Chocolate Marshmallow Rocky Road Fudge can last for about one week in your pantry. To keep it fresh longer, place it in the refrigerator. In the fridge, it stays good for two weeks. Make sure to store it in an airtight container. This will help seal in flavor and keep it from drying out.
Can I use other types of chocolate?
Yes, you can use different types of chocolate! Milk chocolate gives a sweeter taste. Dark chocolate adds a rich flavor and is a bit less sweet. White chocolate can also work but will change the fudge’s look and taste. Feel free to mix and match to find your favorite flavor.
Is this fudge safe for children?
This fudge is safe for kids, but supervision is key. The main ingredients are chocolate, marshmallows, and nuts. These are generally safe for children. However, if a child has nut allergies, skip the walnuts or choose safe substitutes. Always check for any food allergies before serving.
This blog post covered a simple recipe for Chocolate Marshmallow Rocky Road Fudge. We discussed the ingredients, step-by-step instructions, tips for the best texture, variations, and storage advice.
Making fudge is easy and fun. Remember to follow the tips to avoid common mistakes. Enjoy experimenting with flavors and presenting your fudge. It’s a treat everyone will lov